How to increase the rendering speed of any windows PCs (Windows 11)
0 comments

Note: For Windows 11, the process to uninstall bloatware depends on the specific manufacturer of your PC (e.g., Dell, HP, Lenovo), as they often pre-install their own bloatware along with Windows.
Click on the Start button.
Look for the bloatware application in the list of installed apps.
Right-click on the app’s icon and select “Uninstall” from the context menu.
Press Windows key + I to open Settings.
Go to “Apps” or “Apps & features” in the Settings menu.
Find the bloatware application in the list.
Click on the app, then click the “Uninstall” button.
Right-click on the Start button and select “Run”.
Type “control” and press Enter to open the Control Panel.
Go to “Programs” or “Programs and Features”.
Find the bloatware application in the list of installed programs.
Right-click on the app and select “Uninstall”.
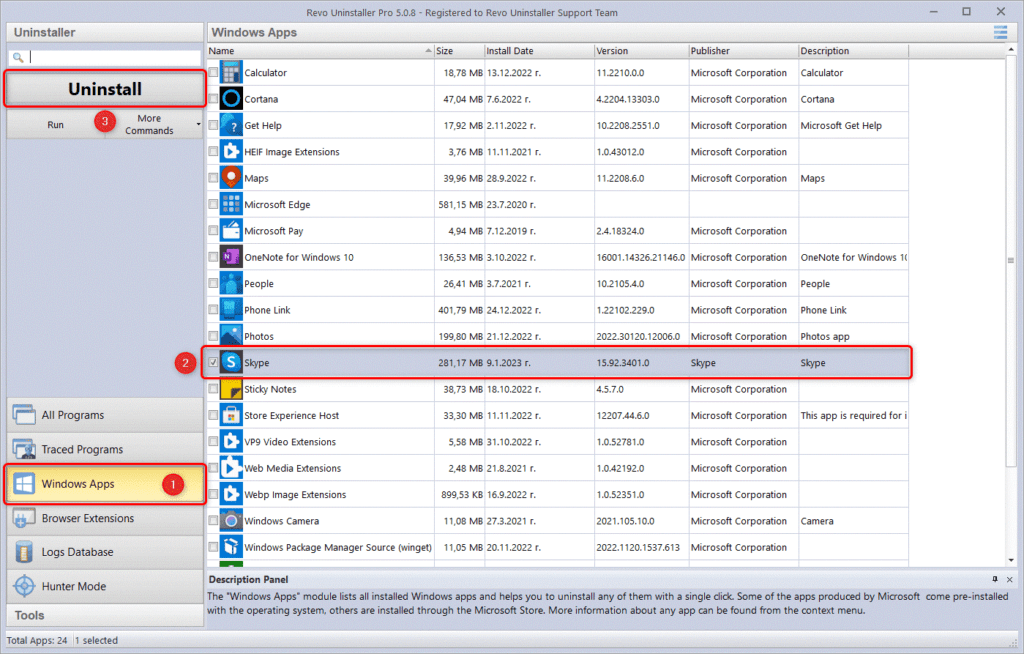
If the bloatware app is particularly stubborn and won’t uninstall using the above methods, you can try using third-party uninstaller software like Revo uninstaller. These tools are designed to help you remove stubborn applications cleanly.
Before updating drivers, identify the hardware components for which you want to update the drivers. This could include graphics cards, network adapters, sound cards, etc.
Windows Update often automatically downloads and installs the latest drivers for your system. To check for updates, follow these steps:
Go to “Settings” (Windows key + I) and select “Update & Security.”
Click on “Windows Update” in the left pane.
Click on “Check for updates” on the right side, and Windows will look for available updates, including drivers.
Sometimes, Windows Update might not have the latest drivers. In such cases, you can download the drivers directly from the hardware manufacturer’s website.
Identify the make and model of the hardware, visit the manufacturer’s website, navigate to the support or downloads section, and find the drivers for your specific hardware and Windows version.
DELL: https://www.dell.com/support/home/en-in?app=drivers
HP: https://support.hp.com/in-en/drivers
LENOVO: https://pcsupport.lenovo.com/in/en/products/desktops-and-all-in-ones/lenovo-c-series-all-in-ones/lenovo-c560-all-in-one/downloads
ASUS: https://www.asus.com/support/Download-Center/
ACER: https://www.acer.com/in-en/support/drivers-and-manuals
RAZER: https://support.razer.com/pc/gaming-laptops
MSI: https://www.msi.com/support/download
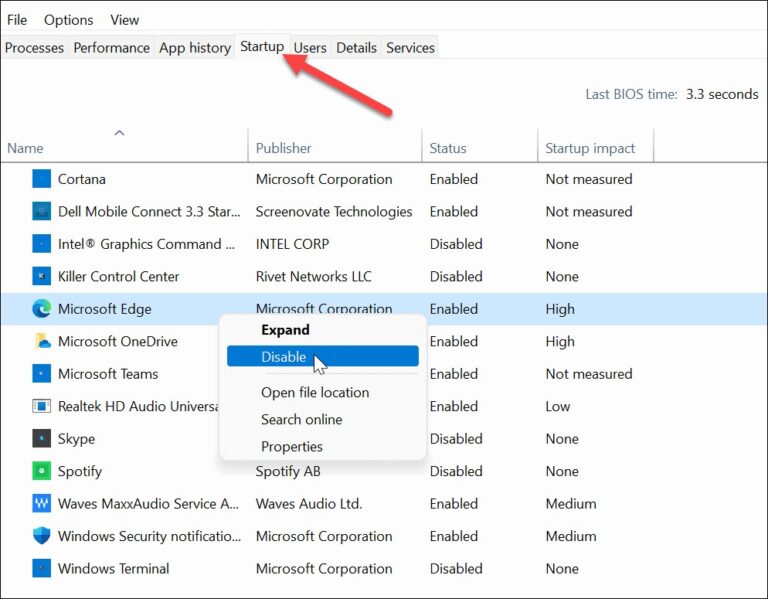
Limiting startup apps provides faster boot times, improved performance, reduced resource usage, less clutter, enhanced stability, better privacy/security, and easier long-term maintenance.
To limit startup apps on Windows:
Press Ctrl + Shift + Esc to open the Task Manager.
Click on the “Startup” tab.
Disable unnecessary apps by right-clicking on them and selecting “Disable”.
Keep the PC clean: Dust and debris can accumulate inside your PC and block airflow, causing it to overheat. Regularly clean the interior of your PC, including fans, heatsinks, and filters.
Improve airflow: Ensure that your PC has proper airflow by organizing cables inside the case, keeping them away from fans and components. Make sure that intake and exhaust fans are working correctly and consider adding more fans if needed.
Position the PC properly: Place your PC in a well-ventilated area with enough space around it. Avoid positioning it in enclosed spaces or against walls that could hinder airflow.
Use quality thermal paste: The thermal paste is a crucial element between your CPU/GPU and their respective heatsinks. Applying high-quality thermal paste can improve heat transfer and reduce temperatures.
Consider aftermarket coolers: Stock coolers that come with CPUs and GPUs might not always be the most efficient. Upgrading to aftermarket coolers, especially for high-performance components, can significantly reduce heat.
Monitor temperatures: Install software to monitor your PC’s temperatures, such as CPU and GPU temperatures. This way, you can identify any potential overheating issues and take appropriate action.
Manage fan speeds: Use BIOS settings or third-party software to adjust fan curves. Increasing fan speeds can improve cooling, but it may come with increased noise levels, so find a balance that suits your needs.
Avoid overclocking: Overclocking can significantly increase the heat output of your components. If you are experiencing overheating issues, consider running your hardware at stock frequencies.
Clean your room: A hot room can lead to increased PC temperatures. Ensure that your PC is in a room with adequate cooling or use an air conditioner to maintain a comfortable environment.
Replace old thermal pads: If your PC has been in use for an extended period, the thermal pads on components like VRMs or RAM modules may have degraded. Replacing these pads can help improve cooling.
Upgrade your PC case: Some PC cases offer better airflow and cable management options than others. Consider upgrading to a case with improved cooling capabilities if necessary.
Disk Cleanup and Temp File Cleanup on Windows offer several advantages, including freeing up valuable disk space, improving system performance, accelerating file access, reducing clutter, and enhancing privacy and security by protecting sensitive data.
Press Windows key + S and search for “Disk Cleanup”.
Open the Disk Cleanup application.
Select the drive you want to clean (usually the C: drive).
Click “OK” to let Windows calculate the amount of space you can free up.
Check the boxes next to the types of files you want to remove (e.g., temporary files, system cache, recycle bin, etc.).
Click “OK” and then “Delete Files” to confirm.
Press Windows key + R to open the Run dialog.
Type “%temp%” (without quotes) and press Enter.
This opens the Temp folder. Select all files and folders (Ctrl + A) and delete them. Some files may not delete because they are in use, which is normal.
Press Windows key + R to open the Run dialog.
Type “temp” (without quotes) and press Enter.
Select all files and folders (Ctrl + A) and delete them.
To clean up Internet Explorer temporary files (if applicable):
Press Windows key + R to open the Run dialog.
Type “inetcpl.cpl” (without quotes) and press Enter.
In the Internet Properties window, click “Delete” under the Browsing history section, and follow the prompts to clean up temporary files.
If you use video editing software with background cache, you should clean only if disk is almost full and project is completed sometimes cache files in temp helps to load the file and buffer faster.
Installing an extra dedicated SSD Startup Drive specifically for temporary files and disk cache can significantly boost editing software performance. By using a fast SSD to store temporary files and cache, the editing software can access and process data much quicker, leading to faster load times, smoother previews, and overall improved responsiveness. This setup offloads the burden from the main system drive, allowing it to focus on running the operating system and applications while the dedicated SSD handles temporary data. As a result, it enhances the efficiency and productivity of your editing workflow.
Right-click on the battery icon in the taskbar (or search for “Power Options” in the Start menu and open it).
Select “Power Options” from the context menu.
In the Power Options window, you will see different power plans. By default, there are usually three plans: Balanced, Power Saver, and High Performance.
If you see the “High Performance” power plan, select it to enable the best performance mode. If not, click on “Show additional plans” to see more options.
Some systems might have a vendor-specific power plan (e.g., “Ultra Performance”) provided by the manufacturer. If you have such an option, select it to activate the ultra-performance mode.
If you have a dedicated graphics card from NVIDIA or AMD, you can access its control panel.
For NVIDIA: Right-click on the desktop, choose “NVIDIA Control Panel” from the context menu. Under “Manage 3D settings”, you may find options related to power management and performance settings.
For AMD: Right-click on the desktop, choose “AMD Radeon Settings” (or similar) from the context menu. Look for the power or performance settings in the control panel.
If you want more control over the power settings, you can create a custom power plan.
Open the Power Options as explained in step 1.
Click on “Create a power plan” from the left-hand side.
Choose the “High Performance” plan as a starting point or select “Balanced” if you prefer to customize from there.
Adjust the settings to your preference, such as setting the display and computer to never sleep, maximum processor performance, etc.
Give the custom power plan a name and save it.
Keep in mind that using the “Best Performance” or “Ultra Performance” mode will consume more power and might lead to increased heat generation. It’s recommended to use these modes when you need maximum performance, such as during resource-intensive tasks like gaming or video editing. For regular use and to save power, you can switch back to the default “Balanced” power plan.